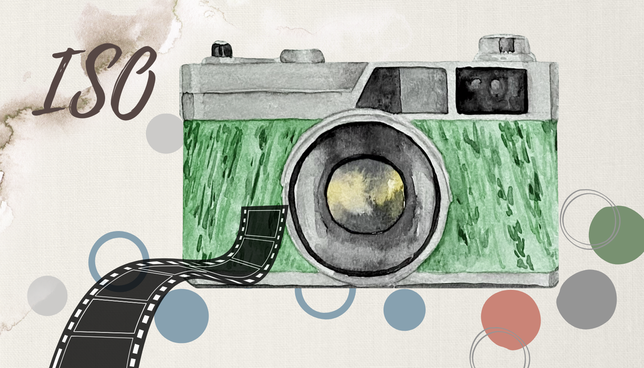
ISO |
a.k.a Film Speed; ISO originates from film cameras. |
|
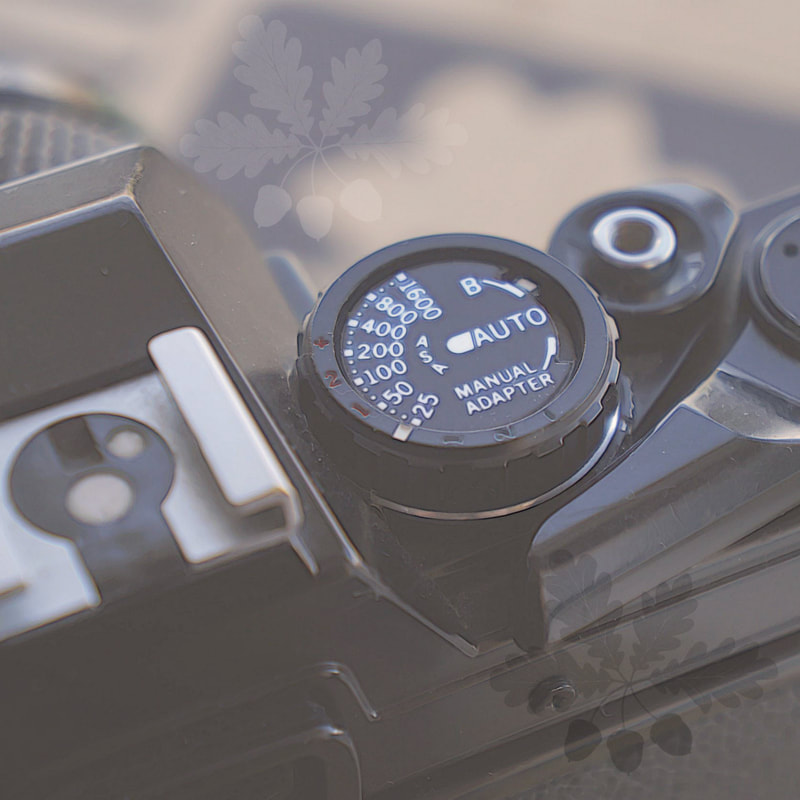
Film can be bought in different speeds, depending on how sensitive you want it to be.
This involved making an educated guess about where and when you’ll be taking photos next. Digital cameras have a huge advantage that they allow you to switch up or down the ISO at any time. |

|
The initials ISO refer to the International Standards Organisation
they made sure film bought of the same speed (ie.100) anywhere would be the same.
In this video you can hear an extract from the beginners course that covers the introduction to ISO.
A written explanation and diagrams continue below.
A written explanation and diagrams continue below.
ISO is one of the things that control exposure:
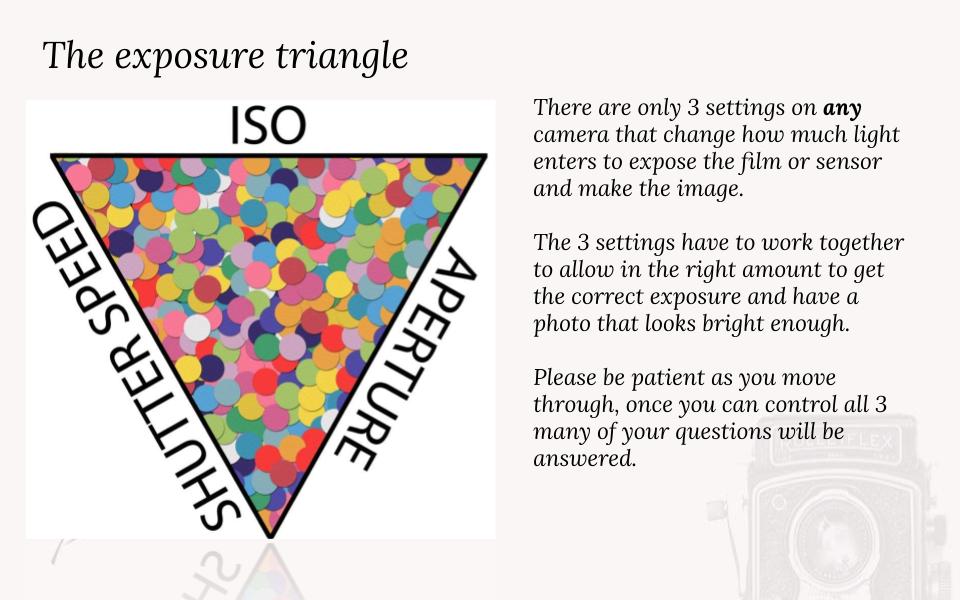
Increase ISO to increase sensitivity to light
|
allowing a faster shutter speed |
Aperture and Shutter speed are physical changes we can make to the camera that let more light flood in; we do this, of course, when the light is not very bright and more is needed so the images don't appear dark. There comes a time when we have the lens as wide open as possible (low aperture) and the shutter open as long as it reasonably possible - then we are stuck! ISO gives us another option, it is our last lifeline and one of the main things that make digital photography possible in so many different situations*.
Raising the ISO makes the camera NEED less light to make a suitable photo, it is a magic fix but comes with a cost - noise.
*when I grew up using a film camera - you would just put it away as evening drew on and the light faded, now we expect to be able to take photos anytime.
Raising the ISO makes the camera NEED less light to make a suitable photo, it is a magic fix but comes with a cost - noise.
*when I grew up using a film camera - you would just put it away as evening drew on and the light faded, now we expect to be able to take photos anytime.
Using ISO to allow you to shoot in darker conditions
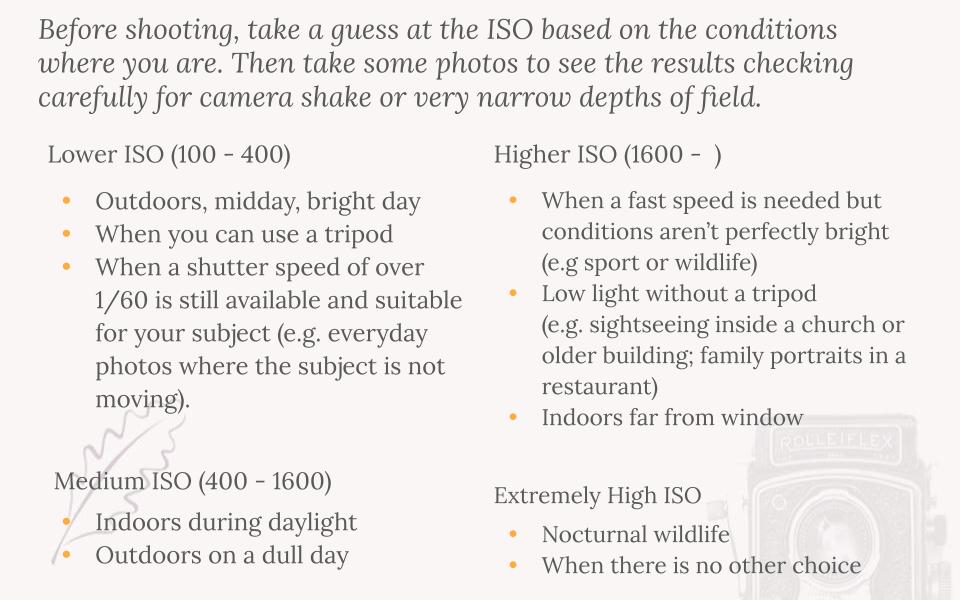
As you take your camera out to begin to work, have a think what ISO might be suitable. The table below gives a rough guide, confidence with this decision comes with experience. Try not to overthink this, the settings are a loose guide- if you pay some attention to this you can see how your own camera copes- they are all different.
You may be able to set Auto ISO, but this is not possible on all cameras unless you stay in fully automatic mode. When you are controlling ISO keep it low by default (200 ish).
Generally as the conditions get darker you will need to increase the ISO to allow the camera to still work in a normal way*. It is at this point you may get a better appreciation for our eye/brain combo- we cope VERY well as the light changes - much better than cameras do!
Red flags for it getting darker include:
*the camera reacts to low levels of light in one of a few ways depending on exactly how you are using at the time:
You may be able to set Auto ISO, but this is not possible on all cameras unless you stay in fully automatic mode. When you are controlling ISO keep it low by default (200 ish).
Generally as the conditions get darker you will need to increase the ISO to allow the camera to still work in a normal way*. It is at this point you may get a better appreciation for our eye/brain combo- we cope VERY well as the light changes - much better than cameras do!
Red flags for it getting darker include:
- moving indoors from outside
- moving away from windows if working indoors
- clouds arriving / rain starting
- getting within a few hours of sunset
*the camera reacts to low levels of light in one of a few ways depending on exactly how you are using at the time:
- In shutter priority it will select a lower f number, widening the aperture.
- In aperture priority it will select a slower shutter speed - possibly causing camera shake and unwanted movement.
- It may simply refuse to take an image if it has registered that the image would be underexposed (too dark). This can happen in Automatic, in Aperture Mode or Shutter Priority.
- In Manual mode the camera will not provide you a safety net - the image will simply be too dark if you fail to set it correctly.
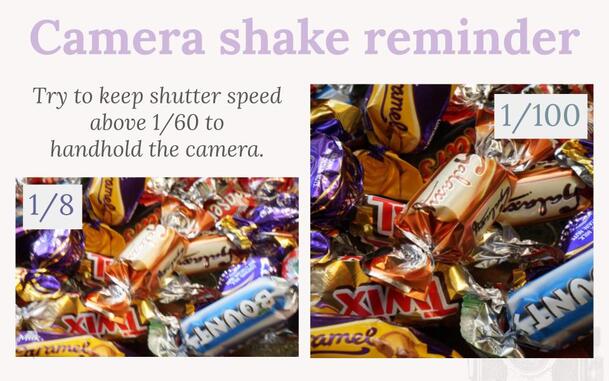
Using ISO to allow a faster shutter speed
You must keep the speed of the camera at a level where it can be hand held, if you see (or even hear) the shutter speed is dropping too slow try raising the ISO by several hundred and reshoot.
Using ISO to allow a smaller aperture
Sometimes its necessary to avoid very low f numbers if trying to get the most amount of a scene in focus, this can be tricky if the scene is dull, raise increase the ISO by several steps to avoid underexposure.
ISO & Noise- the compromise
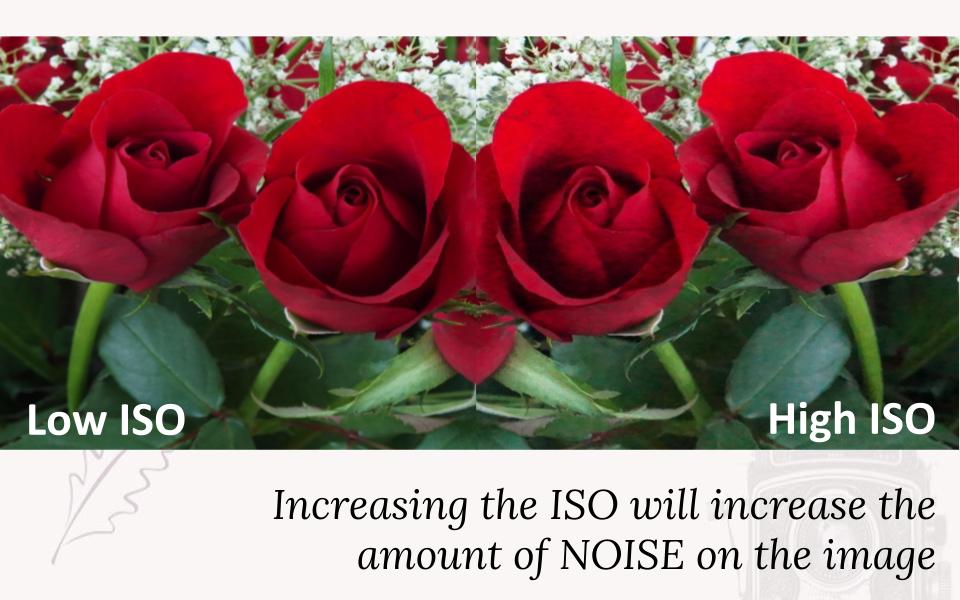
Amplifying the light also amplifies the noise
Noise appears like coloured flecks on the photo, especially noticeable on the darker areas. It can be hard at first to distinguish between an out of focus or low quality (pixelated) image.
Each new generation of cameras gets better at avoiding noise even at higher ISOs and the available ISO increases.
Try out what range you have on your camera and how bad (if it gets bad) the noise is at the highest values.
While shooting try to keep ISO down if possible but noise is better than camera shake or having your subject out of focus so it is often a necessary evil. It is a tool to help you, do not let fear of noise paralyse you from increasing the ISO.
|

|
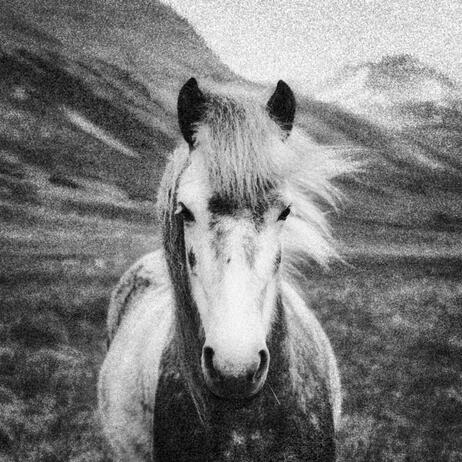
Noise doesn't have to be bad...
|
|
To test this out:
- Using Shutter Priority (TV or S) select 1/60 or 1/100 to avoid camera shake.
- Put ISO low 100 or 200 and photograph your object in a bright location.
- Move to a dark location and raise ISO much higher 6400 or more
- Check both images and zoom in to see the pixel level detail and look for NOISE on the high ISO image.
AUTO ISO is a perfectly valid choice if available, but sometimes you will need to override AUTO so be sure to know how to access & adjust ISO on your own camera.
Top Tip: |
Program mode (P) will allow you to play with some advanced settings but control the exposure for you. |
|
So which ISO should you use? |
Use a low ISO e.g. 200 as standard- choose a higher number if you get problems |
NEXT:
