Shutter speed (continued)... slowing things down
|
Before we continue please note: the basics of shutter speed are covered on a different page- click here to jump to that information, where fast shutter speed is also discussed in depth. These instructions assume you can use Shutter Priority mode and change the speed setting. |
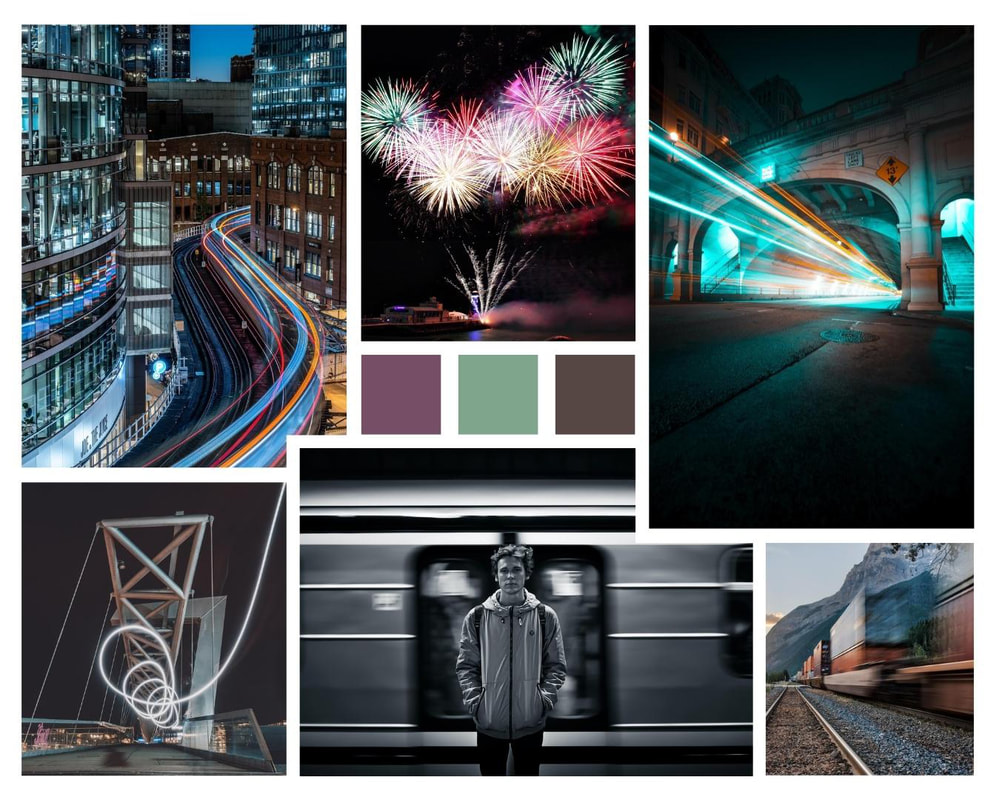
Slow shutter speeds allow moving subjects to blur- the motion can be seen
Oddly it can be tricky for beginners to work out if an image has been taken with a fast or slow shutter speed. I think the brain is so good at interpreting the scene and seeing movement the difference is not always clear.
When a slow shutter speed has been used you can expect to see streaks or, at the least, areas that are unclear- I can't help but think of the whoosh drawn behind cartoon characters when I see it.
When a slow shutter speed has been used you can expect to see streaks or, at the least, areas that are unclear- I can't help but think of the whoosh drawn behind cartoon characters when I see it.
The idea behind this technique is to keep the shutter's curtains open (showing the film or sensor the world) for enough time to allow the subject to move during the time the image is made. Most often you will get a ghostly image as the photo captures the subject in several places.
You'll notice more than half the examples shown above were taken in dark or dull conditions- keeping the camera shutter open will let the available light flood in so this often leads to very bright images - more on this to come.
For any of your image to look clear, you must keep the camera very still - normally this is done with a tripod. On that note, have a look at the example below and analyse what is wrong with it:
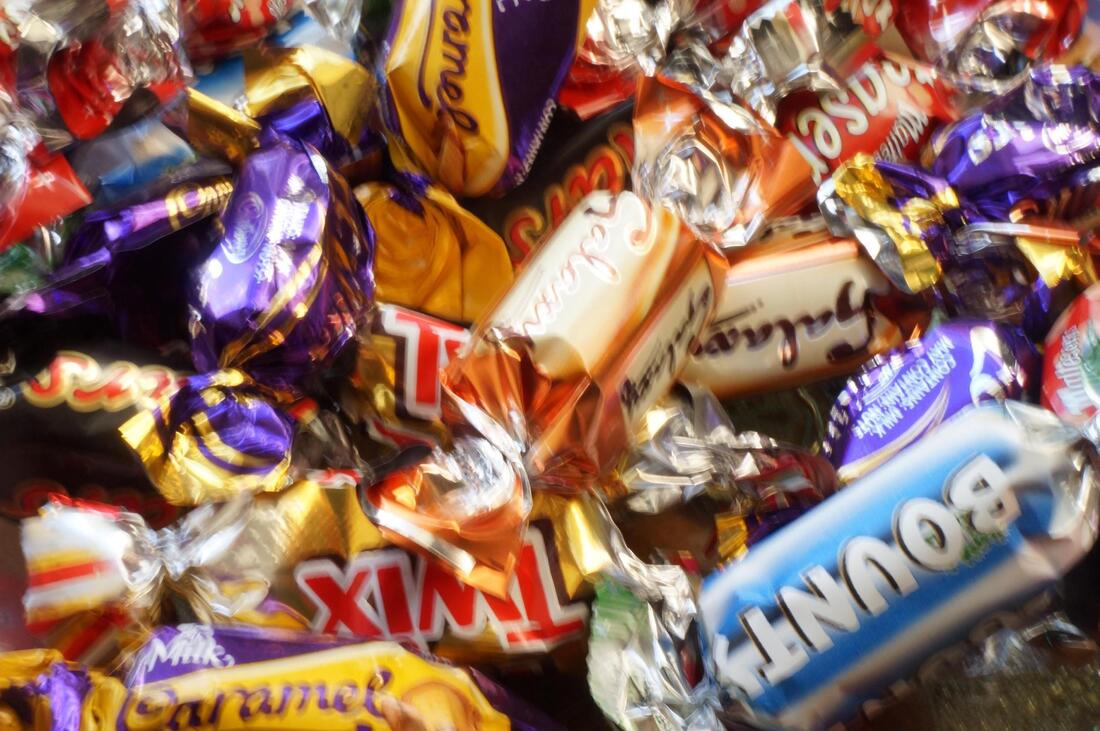
Unwanted movement...
A quick glance shows it is not right, this looks similar to being out of focus but that is not the problem here. Look closely and see there is an echo of most of the lines- for example the galaxy looks to have 2 edges. This blur is across the whole image. This is camera shake.
Camera shake happens when the shutter speed is too slow for the user to be able to hold the camera still. As we breathe there is always a small amount of instability, heavier cameras and longer lenses amplify this even more.
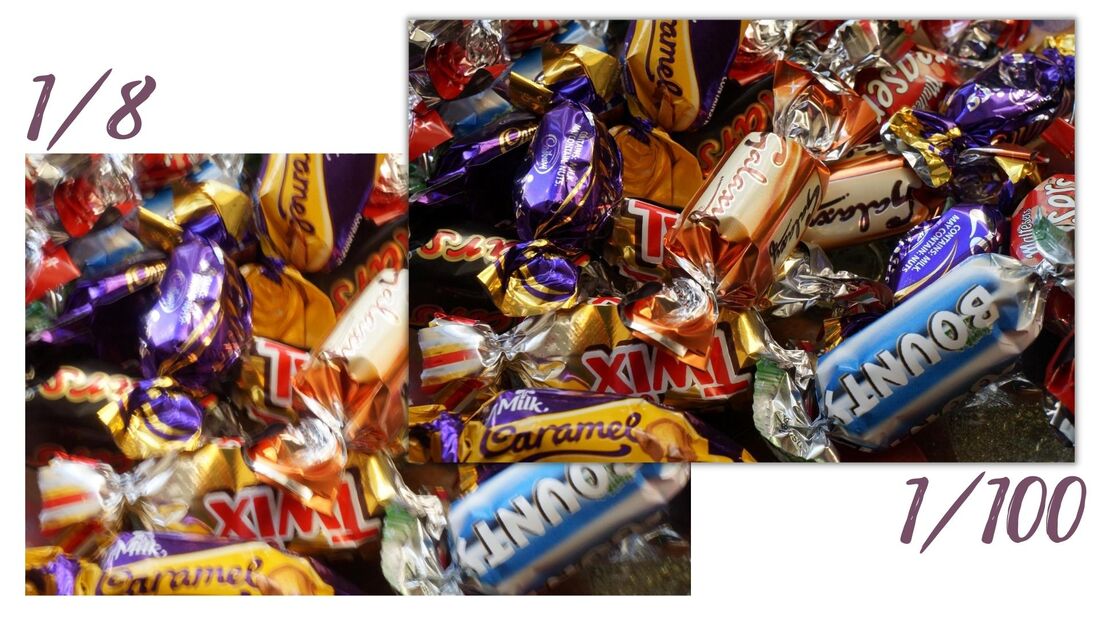
Generally one can avoid camera shake by keeping the shutter speed above 1/60.
A great rule is to match your minimum shutter speed to your focal length (read about focal length here).
Wanted movement...
For even more examples of subjects that work well shot using slow shutter speeds you may like to visit my Pinterest board: https://www.pinterest.co.uk/christinew5001/slow-shutter-speed/
Slow Shutter Speed exercise 1
|
Use Shutter priority mode (S or TV)
Select a moving subject and set your shutter speed to between 1/4 and 1/60. Take images and notice the blur on the subject. Alter your speed to see how the movement and blur gets affected. Notice what else (if anything) changes and take note of any problems you encounter to discuss later. |
Slow Shutter Speed exercise 2: Long exposure
Long exposure is another term for slow shutter speed although I would say this term is often reserved for very slow speeds, perhaps those of over 1 second.
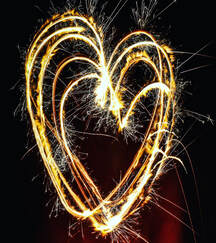
Making Light Trails is a wonderful way to practice with long exposures.
Making Light Trails is a wonderful way to practice with long exposures.
|
Choose shutter priority (this will be S or TV on the mode wheel).
Choose a shutter speed of over 1” (1 second). ISO 100 (if possible) Waving a sparkler or a torch in a darkened space will create lines of light, have a friend help or set your camera somewhere still (on a tripod would be ideal) and use the self timer. Alternatively move your camera while looking towards light for a similar effect. Throughout the exercise increase this length of time and experiment with the results. |
How to request a slow Shutter Speed in Automatic Mode: |
If you want to stay in full Auto for a while (or switch back to it as needed) try selecting the FIREWORKS mode to tell the camera you need a slow shutter speed to show movement! |
Using the same principle you can create star trails. Perhaps surprisingly it only takes 25 seconds for a star to appear in a photo as a line/dash rather than a dot.
Sometimes photographers create star trails using a number of photos that are later merged together but you can get a similar effect using only a single image with a long exposure of a minute or more.
This dark subject lends itself well to very slow shutter speeds because during daylight long exposures let too much light into the camera.
Many cameras will allow you to turn the shutter speed down to 30 seconds, so to have an even longer time you may need extra equipment like a remote control.
If you wan’t the stars to form a circle be sure to point your camera towards one of the pole stars.
Apps are available to help identify the constellations which could be helpful if this subject appeals to you.
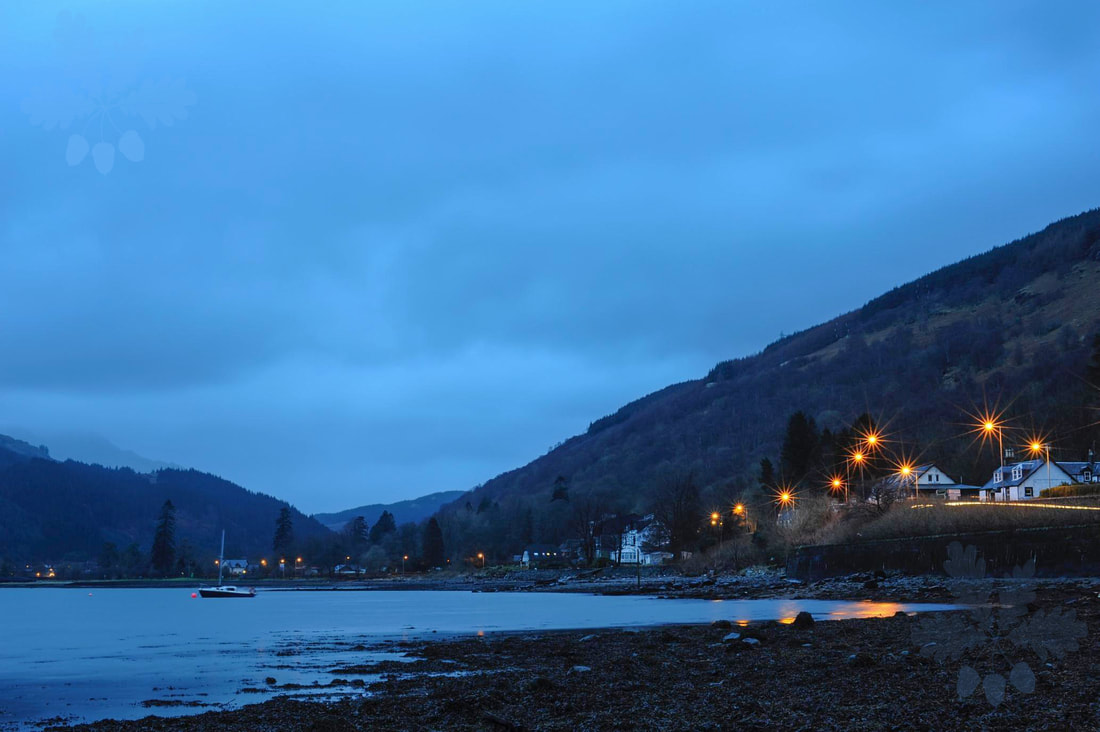
A long exposure with the camera on a tripod allow you to capture scenes at dawn.
Here the effect has calmed the water in the Loch and helped make the streetlights look like stars.
Here the effect has calmed the water in the Loch and helped make the streetlights look like stars.
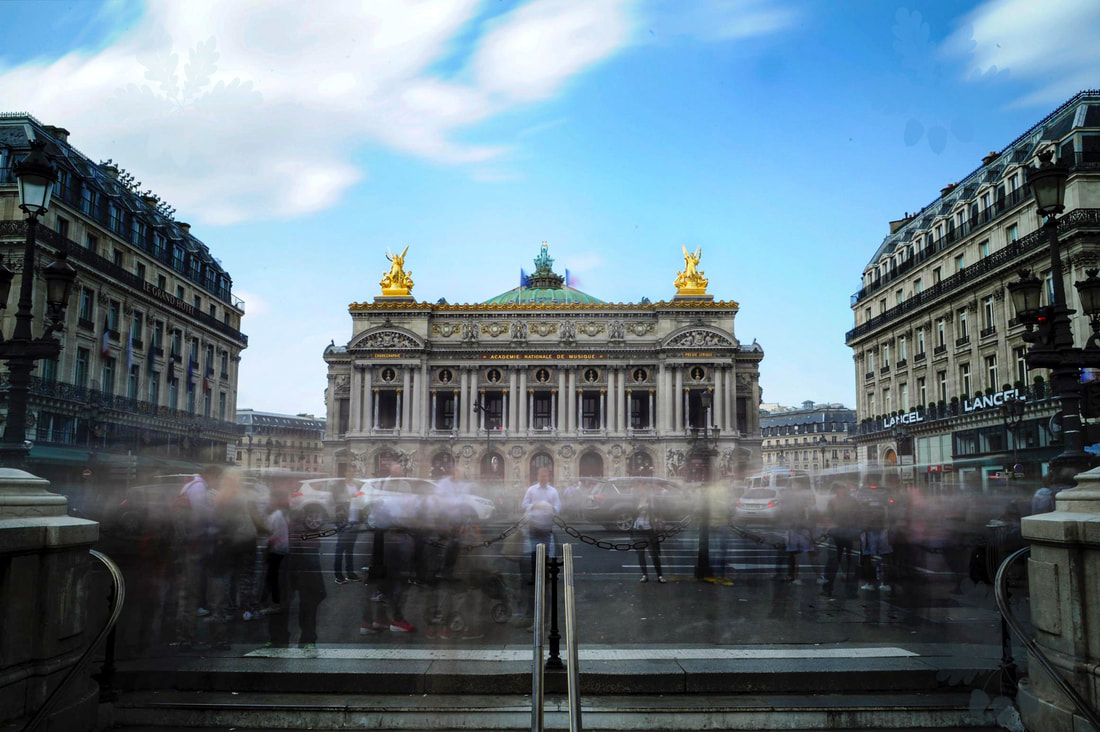
Taken during the day using an ND filter, the long exposure has blurred the people and the traffic in this busy street.
Slow Shutter Speed - some final points
Things to watch for:
Slow shutter speeds keep the camera open for a longer time, so keep in mind that (besides altering the look of movement) the main effect this has is to let a lot of ambient light in. When using shutter speed priority the camera will try to compensate for this extra light, but there are limits.
SO… to use long exposures during daytime especially in bright light can be difficult. You are highly likely to get an overexposed (very white or bright) image.
Many photographers invest in filters to darken the scene and allow for slower shutter speeds without letting in as much light. More about filters can be found here.
If you are just learning the basics, for now consider using this technique at dusk, indoors or in dark shade.
* Remember to raise your shutter speed back up after you've been playing, it's really easy to forget and then hit problems with the next few shots you take when you start using the camera again.*
So which shutter speed should you use? |
1/125 |
It is absolutely fine to leave your camera on shutter speed mode all of the time, simply select a midrange speed such as 1/125, this works for most things.
Consider changing the speed to something more specifically fast or slow
when your subject is moving.
Consider changing the speed to something more specifically fast or slow
when your subject is moving.
