Gadgets & Gizmos
A few things to use in lieu of a new lens which allow for a different view of the world.
Lower down this page Filters are discussed, click here to jump to that section.
For magnifying subjects close to the camera
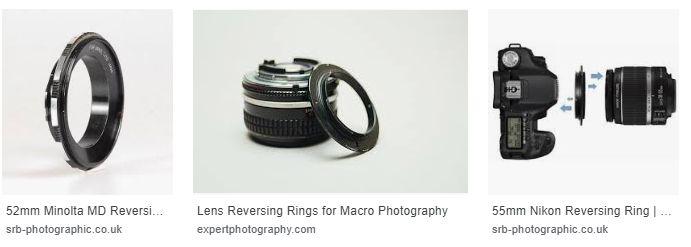
Reversing Rings
A reversing ring is a simple device that allows you to mount your lens onto the camera body backwards by making use of the filter thread.
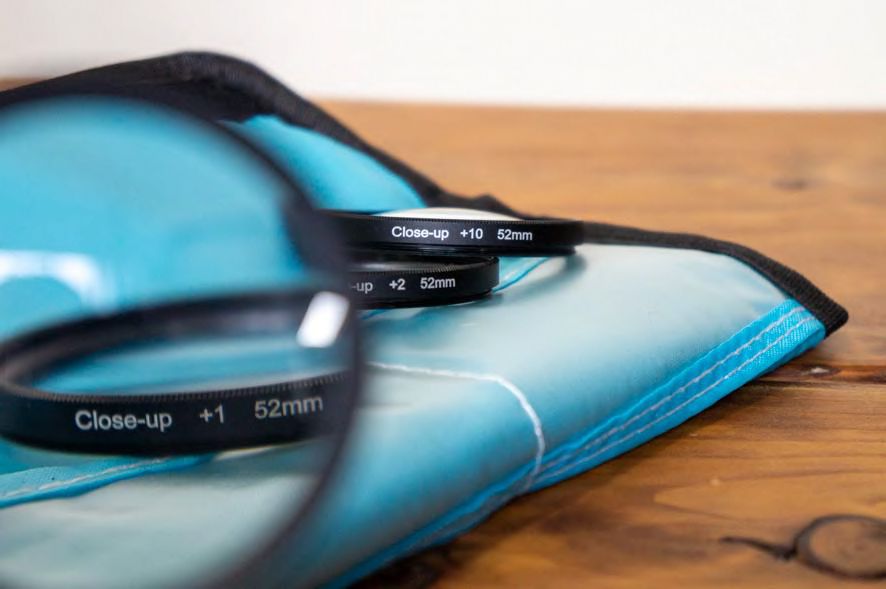
Close up Filters
|
A type of magnifying glass that screws onto the front of your lens and aids with macro photography. Available in various strengths, kits containing a few starter filters can be bought cheaply online.
Focusing can be tricky (it helps to move yourself back and forth) and the resulting image can look distorted almost abstracted at the edges. I quite like this appearance, which is less severe with lower strength filters. Keeping the subject in the centre of the frame allows you to create a neater straight image. |
To get a closer view of far away subjects:
Teleconverters
|
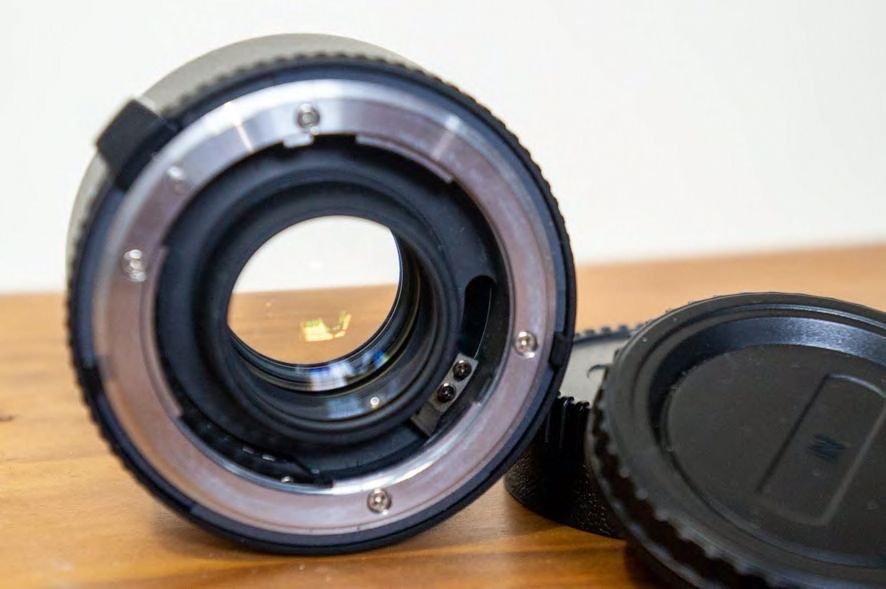
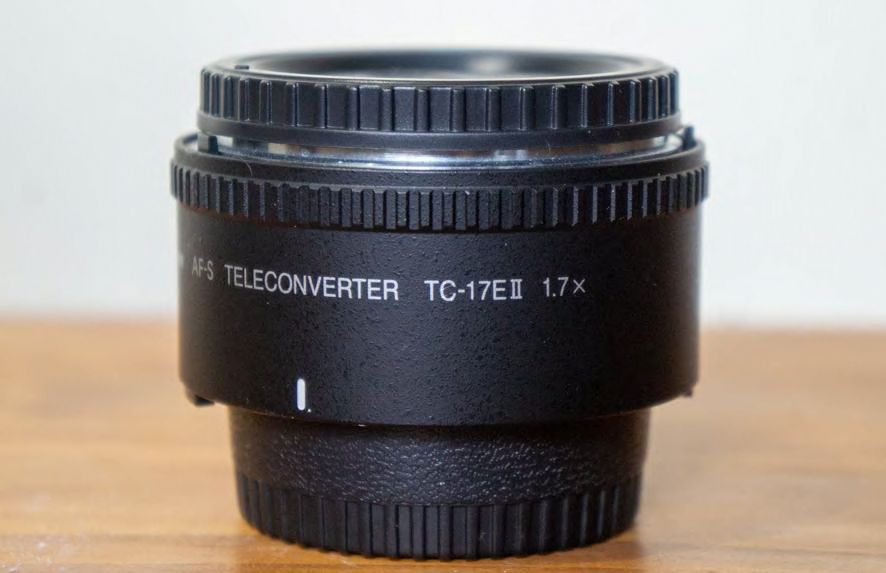
Sometimes called a tele extender, a teleconverter is a secondary lens which is mounted between the camera and a photographic lens.
This will enlarge the central part of an image essentially allowing you to zoom in closer. You will lose some of the light that enters the lens. Before buying doble check the |
Teleside Converters
These fix to the front of the camera lens so are suitable for cameras where the lens doesn’t remove from the body such as bridge cameras.
The glass magnifies the image so it appears closer however it doesn’t affect focal length or reduce the light coming in.
There is a risk they will cause aberrations (imperfections or distortions in the image).
The glass magnifies the image so it appears closer however it doesn’t affect focal length or reduce the light coming in.
There is a risk they will cause aberrations (imperfections or distortions in the image).
Lens Filters
I always think that filters are akin to eyeglasses but for your camera; they come in more or less the same options as we are used to buying for ourselves.
Filters come in different types depending on how they attach to the camera. Many people use 'circular' filters which screw directly to the threads in the front of the lens. Another common style are square or rectangular that filters need mounted in a holder (shown above). Less frequently seen are 'drop in' filters, which are slotted inside part way down the length of a very long lens, this saves glass when the lens has a very large front.
UV Filters
These are akin to safety goggles.
The only modern purpose of a UV / Clear / Haze filter is to protect the front element of a lens. For many the idea of scratching a filter is preferable to damaging the lens itself.
Must be high quality glass with special multi-resistant coating (MRC). Some people decide not to use a UV filter at all, claiming that they do not wish to dilute the quality of their images by placing cheap glass in front of their nice lens. It is something to consider, try to buy a good brand of filter.
It is often said these should never be stacked with other filters, this is because of the problems with light bouncing between multiple filters and causing bends or reflections. In practice many people get away with leaving their UV lens on all the time, but if you plan to do so- be careful of the potential problems when using extra filters on top.
Polarising Filters
Many pairs of sunglasses also polarise light; anglers can buy their own polarising glasses too.
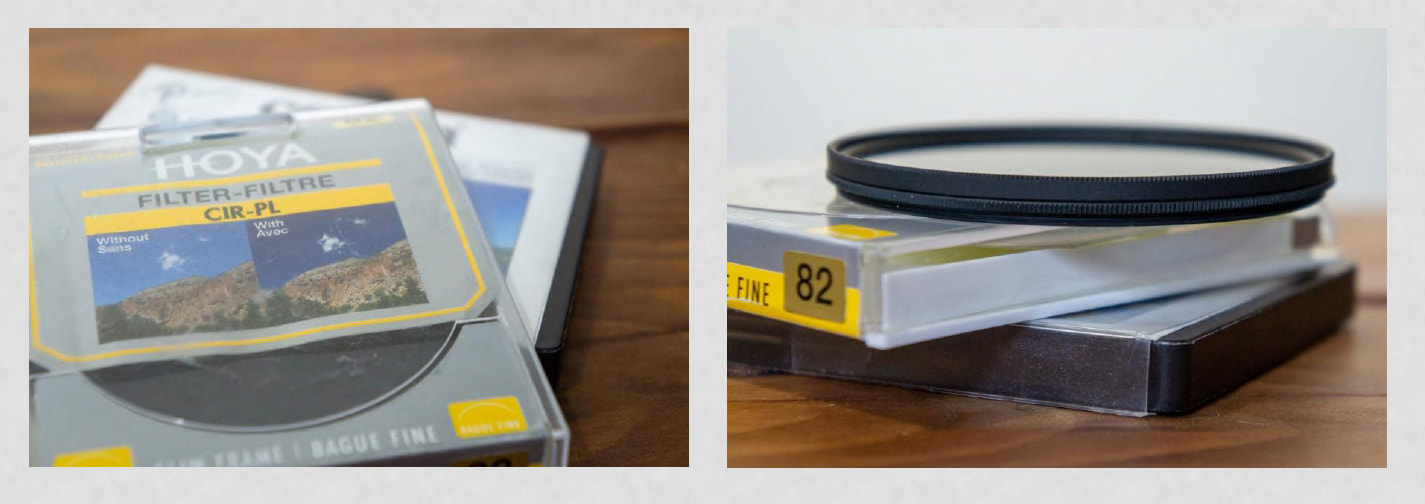
They are available in linear and circular, although only circular types are suitable for digital cameras. Circular polarising filters are abbreviated to CPL.
Polarising Filters are designed to increase colour saturation (great to make bluer skies), they help prevent reflections, reduce haze and increase overall contrast; all of these things make them useful for landscape photography in particular.
Polarising Filters are designed to increase colour saturation (great to make bluer skies), they help prevent reflections, reduce haze and increase overall contrast; all of these things make them useful for landscape photography in particular.
A few important pointers about the use of CPLs:
Unfortunately not every landscape scene can be enhanced by use of a polarising filter. As the name suggests they affect only polarised light, which travels in a different direction to standard light waves. As one of the examples above shows, reflected light is polarised, so a CPL is useful to see underwater or through glass better. Away from reflective surfaces a sunny day is needed, then you need to be photographing across the light at about 90 degrees; meaning that as opposed to looking into the light or having it directly behind you the sun should be at your side. You can use the rule of thumb to help remember this, point your index finger to the sun and if you are shooting in a direction your thumb can face, a CPL may help.
They mustn't be used on wide angle lenses as the effect will be uneven across the scene, and can be very obvious over a wide sky.
Neutral Density (ND) Filters
Sunglasses for your camera.
Designed to reduce the amount of light that gets to the camera and thus allow for slower shutter
speeds often in order to show movement.
Particularly useful in daytime, because the abundance of light cannot be significantly reduced by stopping down the lens aperture and decreasing ISO.
ND filters are available in different strengths, known as stops.
In some cases your camera can still measure light through the filter and will work out the camera settings needed.
If the filter is so thick it is virtually opaque you may find the camera can't work the correct exposure out alone. In that case you will benefit from using Manual mode, taking a meter reading before adding the filter and then adjusting the shutter speed manually. There are tables widely available to download that can tell you based off the initial reading & the strength of your filter what you should set the camera to.
Graduated Neutral Density Filters:
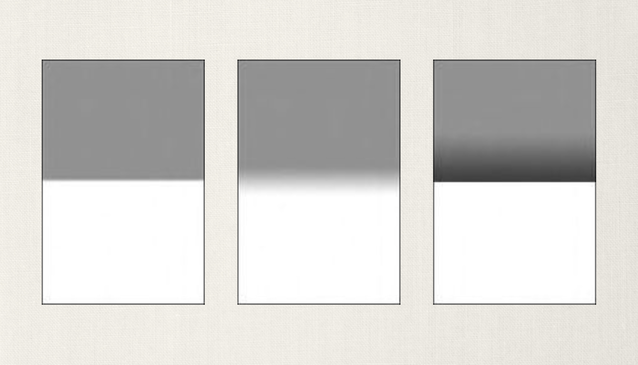
These square or rectangular filters are used with a holder. The photographer needs to align the horizon on the filter with their subject. A graduated edge is easiest to use, a crisp edge is designed for seascapes or when the horizon is flat. For sunrise or sunset you can also buy GNDs with more shading in the centre (top right).
Tripods
Useful for:
• Using with a telephoto lens, to help with weight & keep steady
• Slow shutter speeds
• Luna, fireworks, Wildlife, Portraits, Macro, Group photos
• Landscapes especially panoramic
• Self portraits
Touching the camera to take the shot can still mean you get camera shake- consider instead using a remote control shutter release (plug in or wireless), the self timer option on camera, or an apps to control camera from phone.
If your lens has vibration reduction (VR) or image stabilisation turn this off when it is on a tripod.

